Label Function
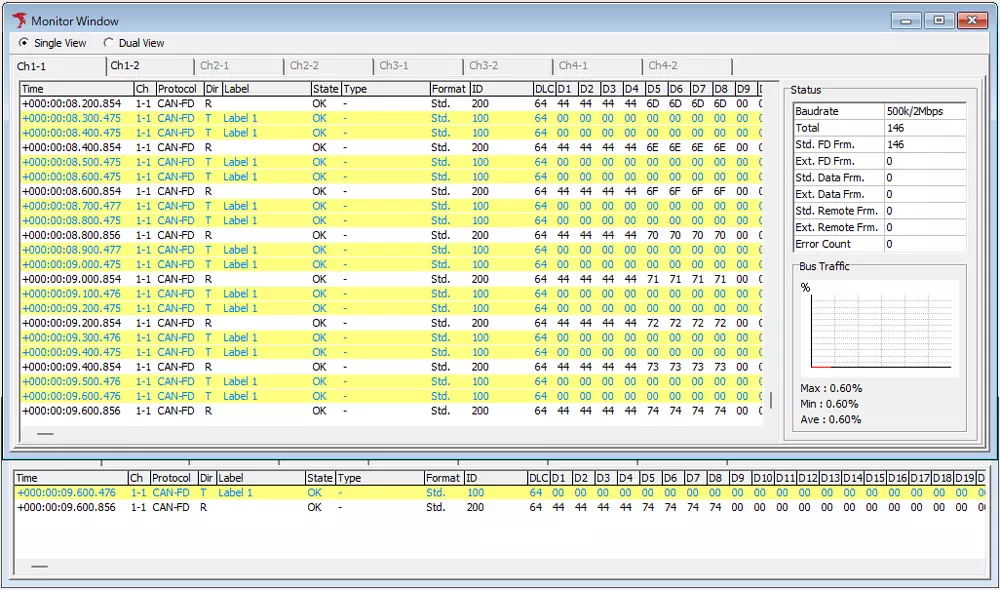
The label function adds markers (labels) to specific frames and highlights them in the following windows.
- Monitor Window
- Each ID Window
- Analyze Window
Configure labels in the Label Filter Window.
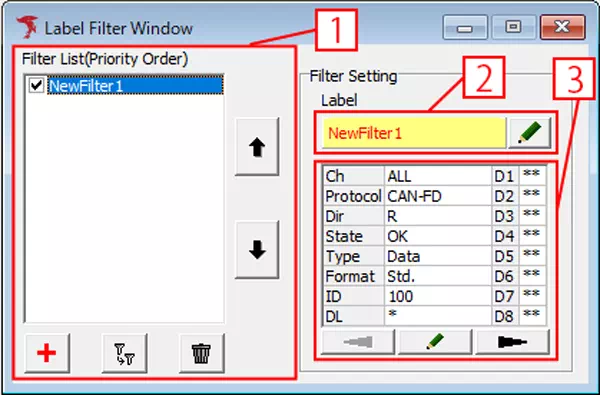
Label Filter Window Screen Description
| No. | Item | Description |
|---|---|---|
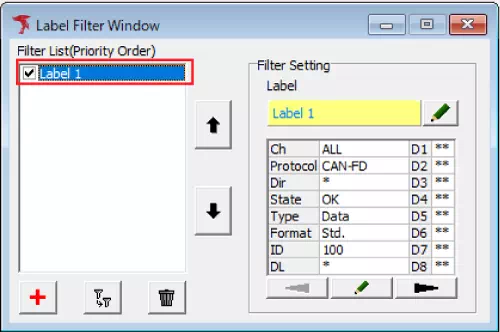
| [1] | Filter List | List of label filters. Each filter can be enabled/disabled with checkboxes. Filters higher in the list have higher priority. |
 button button | Changes filter priority by moving the selected label filter within Filter List. | |
 button button | Adds a new label filter. Clicking opens the Label Filter Setting dialog. | |
 button button | Copies the selected label filter. | |
 button button | Deletes the selected label filter. | |
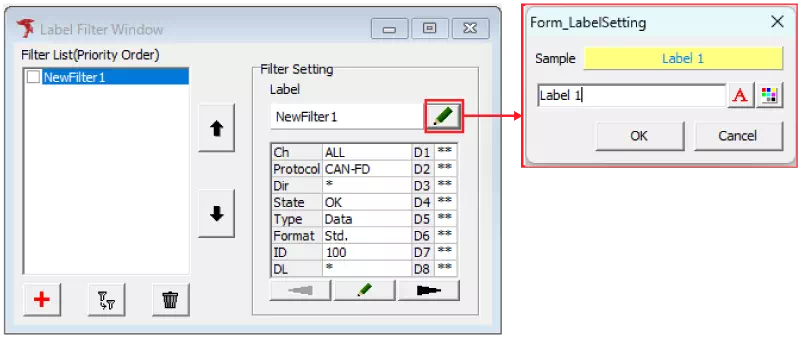
| [2] | Label | Displays the label name selected in Filter List. Double-clicking opens the Form_LabelSetting dialog. |
 button button | Edits label name and style settings. Clicking opens the Form_LabelSetting dialog. | |
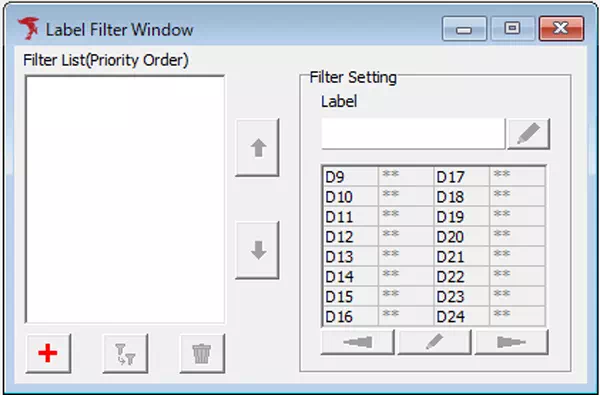
| [3] | Filter setting display | Displays configured frame conditions for the label filter. Double-clicking opens the Filter Setting dialog. |
 button button | Edits filter settings. Clicking opens the Filter Setting dialog. | |
 button button | Switches the label filter display page. |
Label Filter Setup Procedure
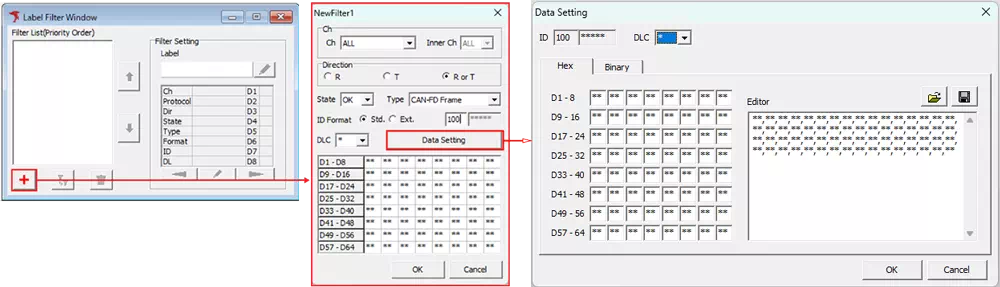
- Open Label Filter Window
SelectLabel Filter Windowfrom the menu or toolbar.
- Add filter conditions (target frames)
- Click to open the Filter Setting dialog.
- Set conditions such as CAN ID / channel / Tx-Rx direction to label.
- If needed, use
Data Settingfor byte-level detailed conditions. - Click
OKand confirm the new item appears in the list.
- Set label style (name and colors)
- Select the added filter and click to open Label Setting dialog.
- Set label name, text color, background color, etc.
- Click
OKto apply the style.
- Enable labels
Turn ON the checkbox in Filter List. Frames matching the enabled conditions are shown with the configured label.
- Start monitoring
When monitoring starts, labels are displayed in Monitor Window, Each ID Window, and Analyze Window.