Feature Overview and Basic Operation
Feature Overview
The monitoring function of MicroPeckerX CAN FD Analyzer acquires and displays frame data on connected CAN/CAN FD buses in real time.
| Function | Description |
|---|---|
| Real-time simultaneous monitoring | Simultaneously monitors data from up to 8 connected channels. |
| Log file output | Automatically saves frame data as CSV text files to a specified folder on the PC. |
| Display mode switching | Single View: full-screen display of one channel Dual View: side-by-side comparison display of two channels |
| Automatic protocol detection | Automatically detects CAN and CAN FD and displays in the optimal format. |
| Each ID function | Overwrites and displays only the latest frame for each CAN ID, allowing quick grasp of current status even with large data volumes. |
| Filter & label display | Filter: narrows displayed frame data Label: assigns arbitrary labels to specified frames |
| Trigger function | Automatically controls log start/stop when configured conditions are detected. |
This allows efficient monitoring of multiple buses and instant access to required data.
In this chapter, the terms are used as follows:
| Description | Monitoring (or monitor) | Logging |
|---|---|---|
| Operation | Real-time display: data acquired from the CAN bus is shown in real time on the GUI application. | File save: data acquired from the CAN bus is automatically saved in CSV text file format to a specified folder on the PC. |
| Data retention | Temporary memory: data is stored only in application memory and is lost when the application exits. | Persistent storage: saved logs remain as files after the application exits, allowing later analysis and sharing. |
Basic Operation
1. Start communication monitoring
Select Command -> Start in the menu bar to start logging.
Note: At start, the GUI layout automatically switches to Monitoring Layout.
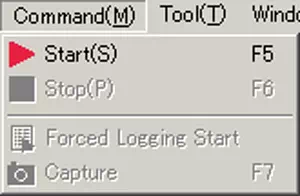
You can also start monitoring with the toolbar  button or the
 F5 key.
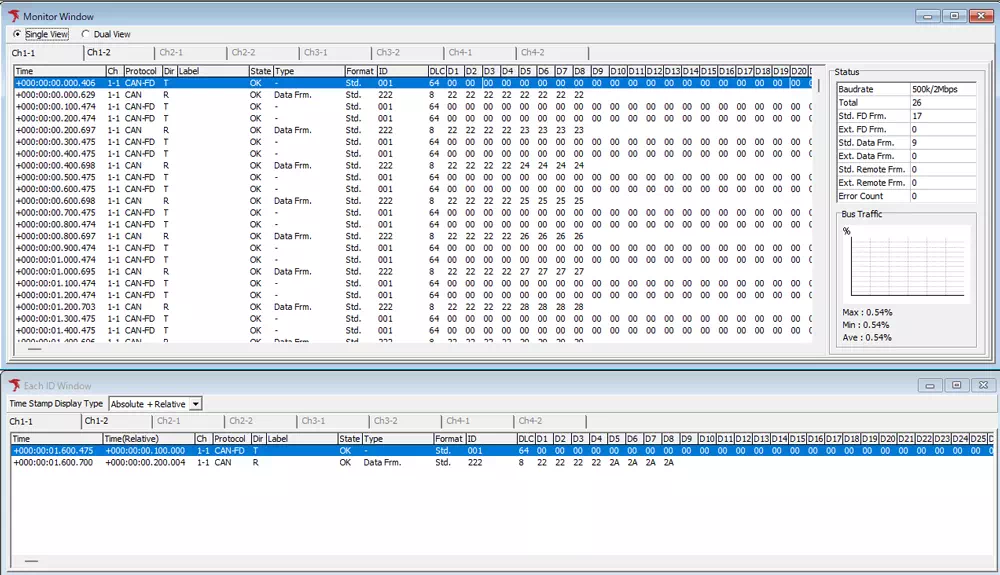
2. Display monitoring data
During monitoring, logs can be checked in Monitor Window and Each ID Window.
3. Stop communication monitoring
To stop monitoring, select Command -> Stop in the menu bar.
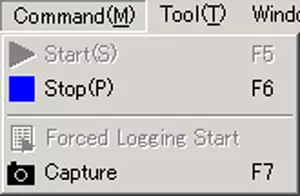
You can also stop monitoring with the toolbar  button,
 F6, or Esc.
Note: At stop, it may automatically switch to Analyze Layout depending on Option settings.
Log Saving
From Log settings on the toolbar, you can automatically save monitoring data to the PC.

| Menu | Description | Details |
|---|---|---|
| Save Log File | Enables/disables automatic log saving | If checked, logs are saved when monitoring starts. |
| Log Folder | Specifies the folder where log files are saved | In the specified folder, log files are created with the configured file name plus a serial number. |
| Log File Name | Specifies the name of output log files | - |
| No. | Serial number automatically appended to file names for each save | The serial number is auto-incremented to prevent overwriting when saved multiple times with the same name. |