Connecting the Devices
How to Connect and Disconnect
This chapter explains how to connect and disconnect the devices.
Connecting the Devices
Connecting to a Windows PC
Use the supplied USB cable to connect the MicroPeckerX device to a USB port on the PC.
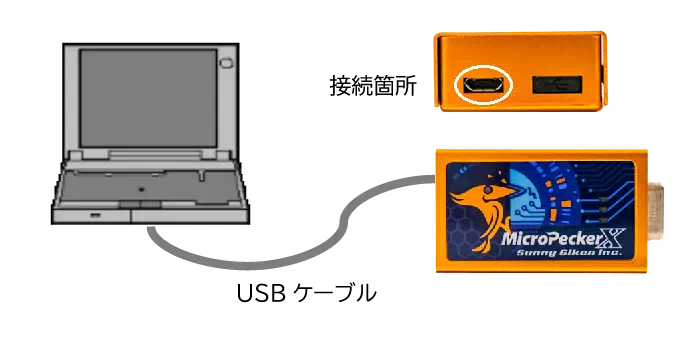
Only the USB port on the left side can be used. Do not remove the cap on the right side.
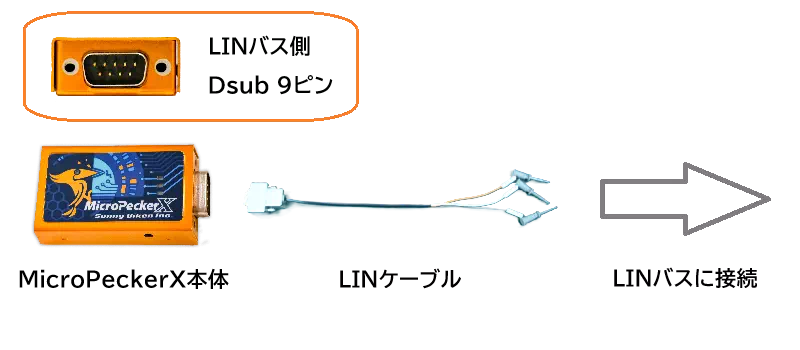
Connecting to the LIN Bus
Use a LIN cable to connect the MicroPeckerX device to the LIN bus. Connect VBAT, LIN, and GND.
Connecting the Sync Cable
When synchronizing multiple MicroPeckerX devices, connect them with the included sync cable.
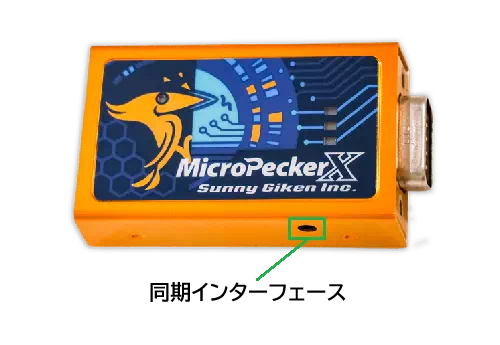
Two sync interfaces are available. They provide the same functionality, so connect the sync cable to either one to match your setup.
Example: Using Three Devices
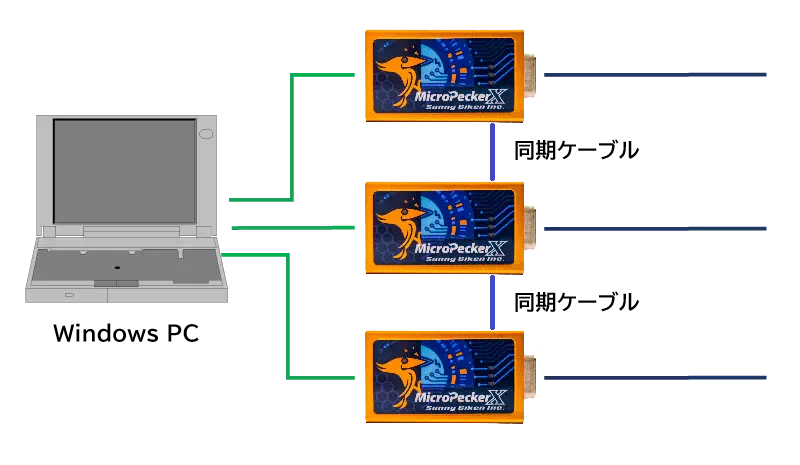
Attach or remove the sync cable only while monitoring is stopped.
Disconnecting the Devices
Follow the steps below to disconnect the devices.
Disconnecting the MicroPeckerX Device from the PC
Unplug the MicroPeckerX device from the Windows PC.
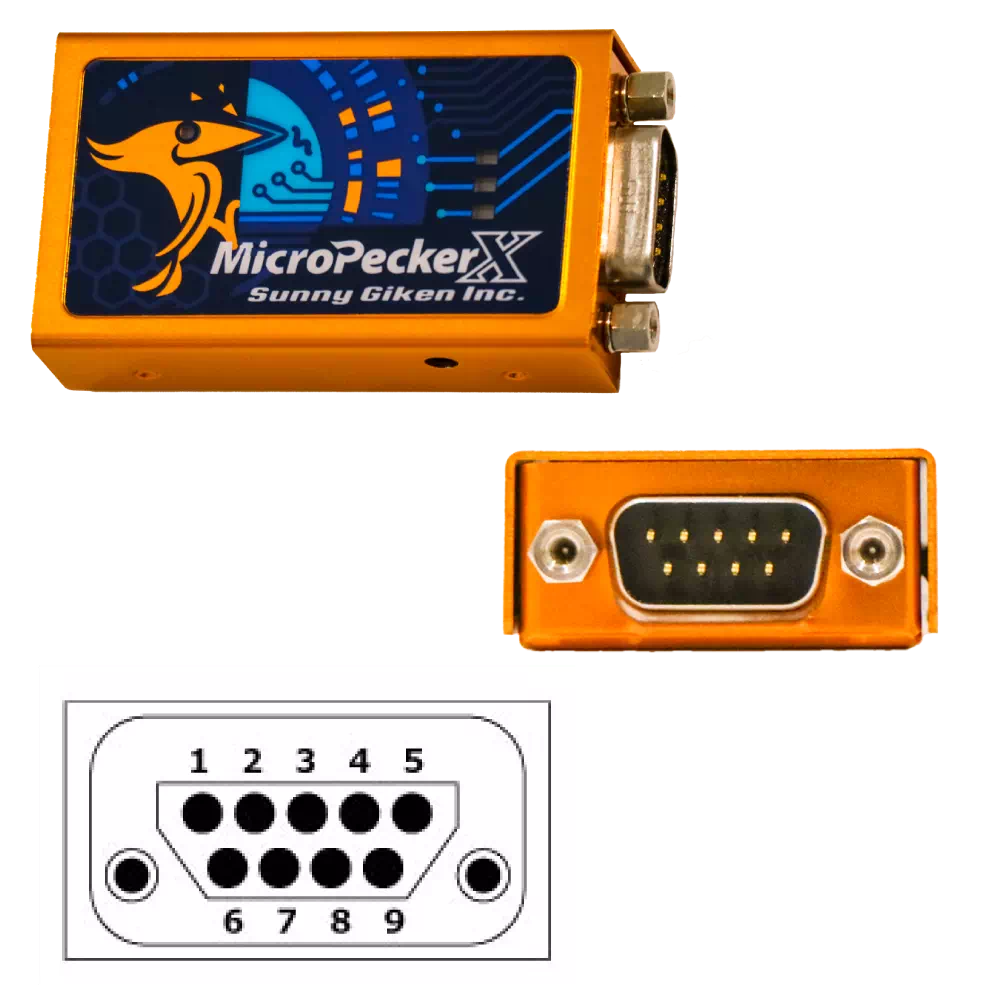
D-sub Connector Pin Assignment
The D-sub connector on the MicroPeckerX device has the following pin layout.
| Pin | Function |
|---|---|
| 1 | DIO4 |
| 2 | DIO2 |
| 3 | ISO-GND |
| 4 | AD |
| 5 | GND (for DIO/AD) |
| 6 | DIO3 |
| 7 | LIN |
| 8 | DIO1 |
| 9 | VBAT |
Pins with gray hatching are not used for the LIN protocol. Use pin 3 (ISO-GND) as the ground for LIN. Do not use pin 5 (GND).
Incorrect wiring may damage both the MicroPeckerX device and the LIN bus.