Install Software
This section explains how to install the downloaded software.
The following components are installed together:
- USB Driver
- License Manager
- GUI Application (MicroPeckerX Control Software / InstaGW Setting Tool)
Install the USB Driver and License Manager using a user account with administrator privileges.
MicroPeckerX Control Software can only be used by the user account that installed it.
If another user needs to use it, install it again under that user account.
STEP 1: Launch the Installer
- Run
MPXSetup.exein the setup package folder.
The installer starts.

The installer screen shows the GUI application name and version.
- Click Install on the installer screen.
Installation starts.
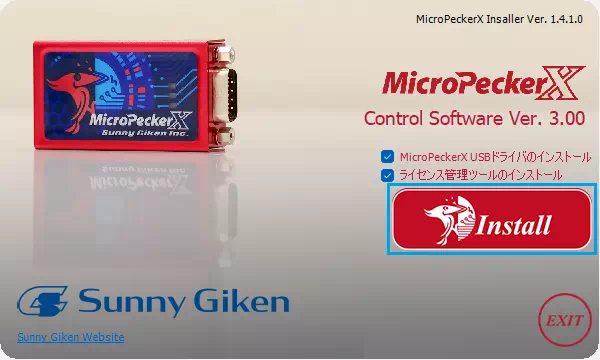
You can enable/disable installation of the USB driver and License Manager using checkboxes.
- If Install MicroPeckerX USB Driver is OFF when you click Install, the USB driver is not installed. In this case, skip STEP 2: Install USB Driver.
- If Install License Manager is OFF when you click Install, License Manager is not installed. In this case, skip STEP 3: Install License Manager.
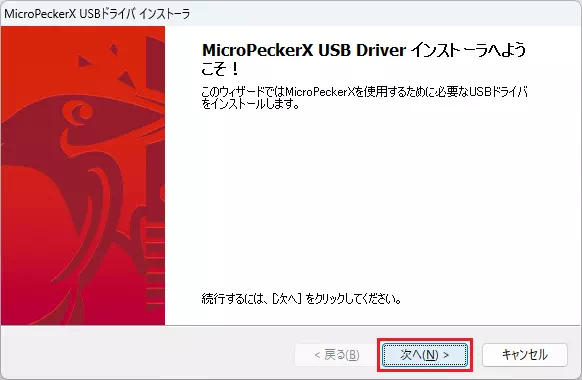
STEP 2: Install USB Driver
- Click Next on the following screen.
-
Wait while the USB driver is installed.
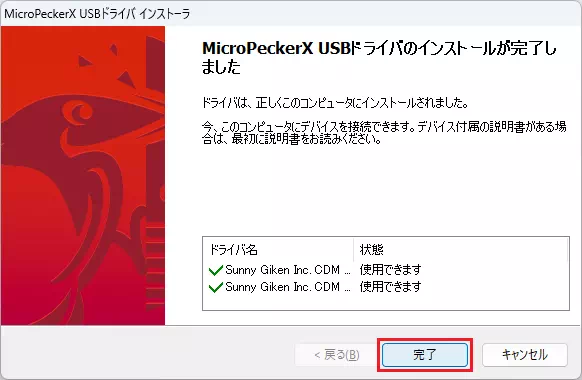
-
When installation completes, click Finish on the following screen.
STEP 3: Install License Manager
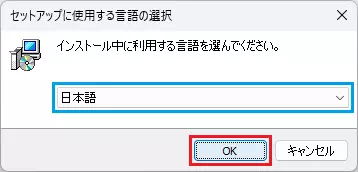
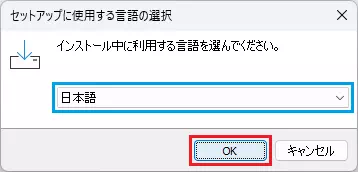
- Select the installer UI language (Japanese or English) from the pull-down menu, then click OK.
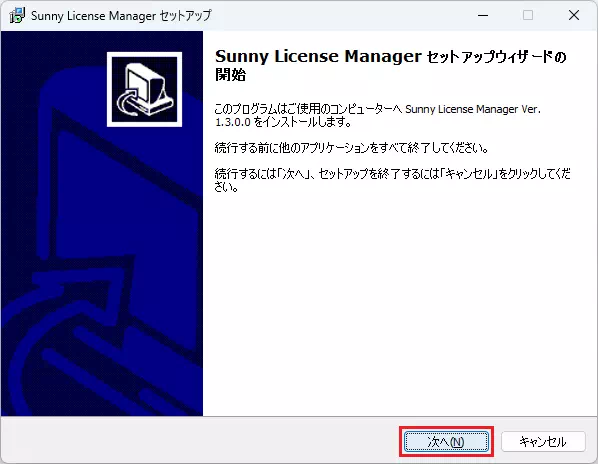
- Click Next on the following screen.
- Click Next on the following screen.
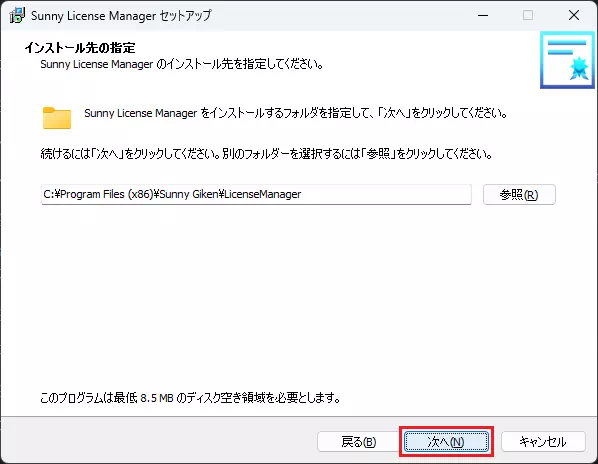
Click Browse to change the installation destination folder.
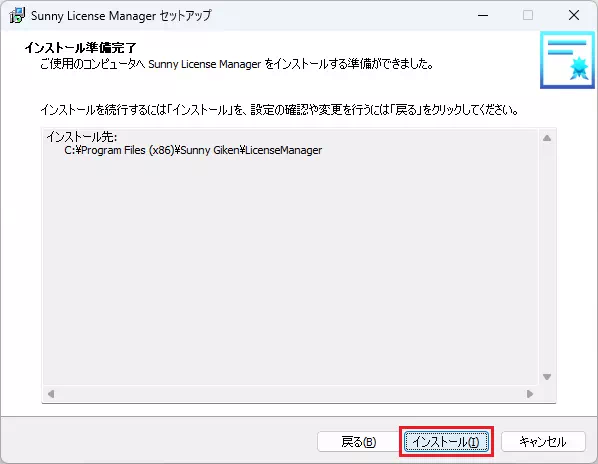
- Click Install on the following screen.
-
Wait while License Manager is installed.
-
When installation completes, click Finish on the following screen.

If Show Manual is checked, clicking Finish opens the License Manager user manual.
If not needed, clear the checkbox before clicking Finish.
STEP 4: Install GUI Application
Install MicroPeckerX Control Software
- Select the installer UI language (Japanese or English) from the pull-down menu, then click OK.
- Click Next on the following screen.
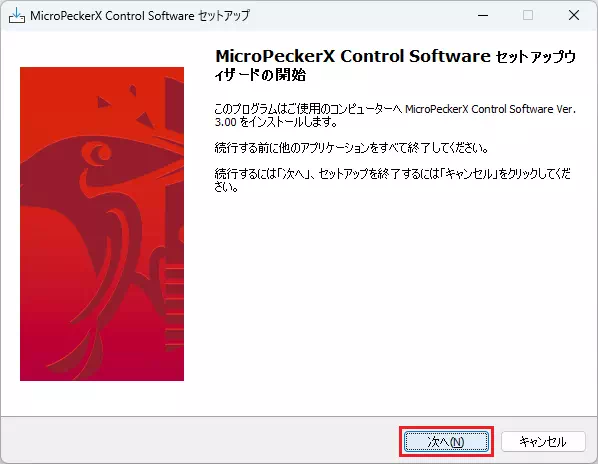
- Click Next on the following screen.
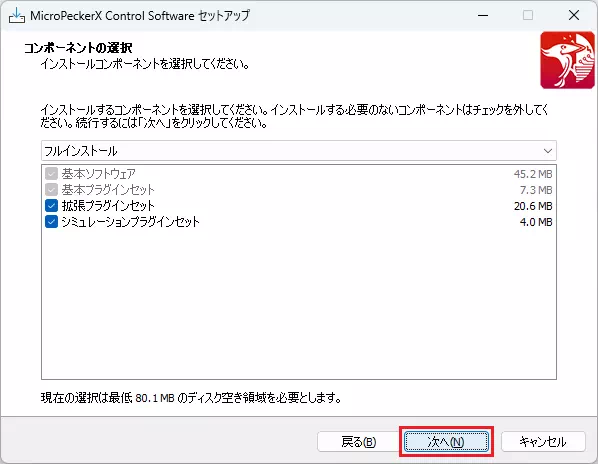
You can change installed components via pull-downs or checkboxes, but the default (full install) is recommended.
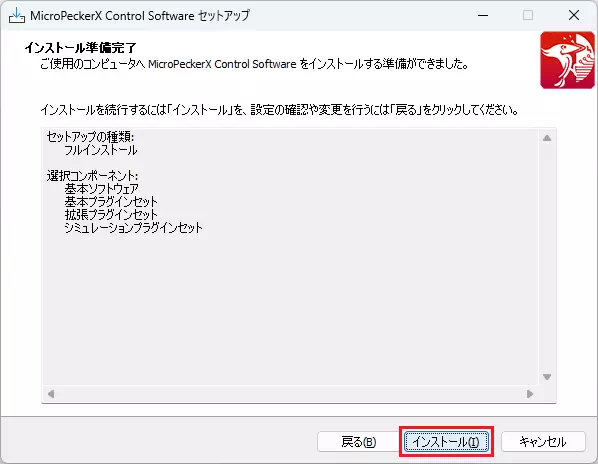
- Click Install on the following screen.
-
Wait while MicroPeckerX Control Software is installed.
-
When installation completes, click Finish on the following screen.
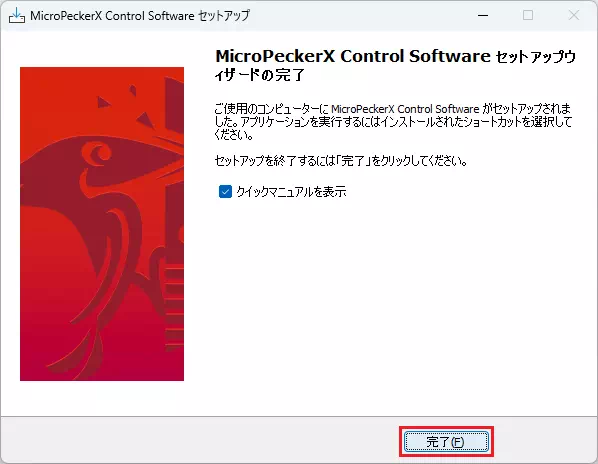
If Show Quick Manual is checked, clicking Finish opens the quick manual.
If not needed, clear the checkbox before clicking Finish.
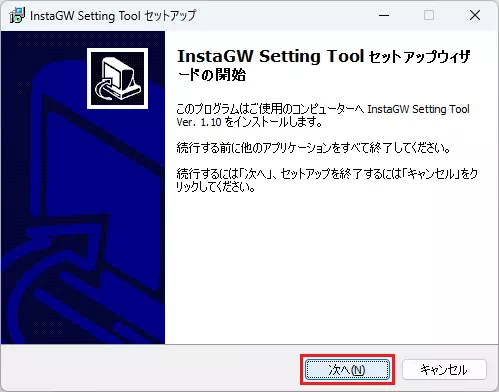
Install InstaGW Setting Tool
- Click Next on the following screen.
- Review the license agreement, select Agree, and click Next.
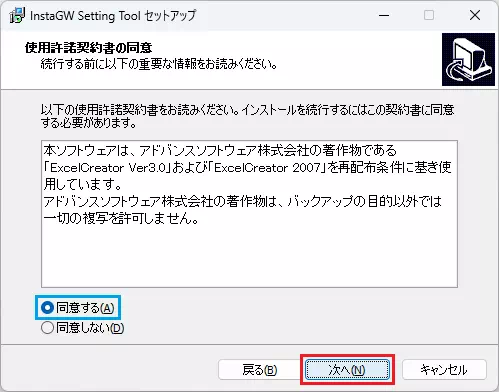
If you do not agree to the license agreement, InstaGW Setting Tool cannot be installed.
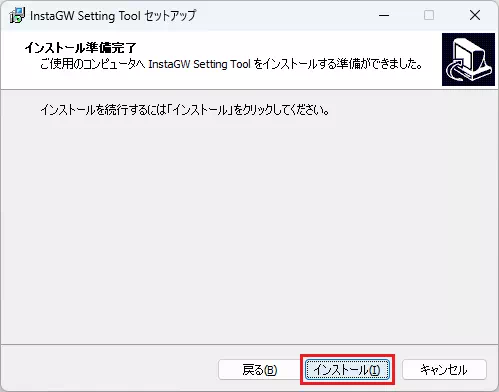
- Click Install on the following screen.
-
Wait while InstaGW Setting Tool is installed.
-
When installation completes, click Finish on the following screen.

If Show MPXInstaGW_uj.pdf is checked, clicking Finish opens the user manual for InstaGW Setting Tool.
If not needed, clear the checkbox before clicking Finish.
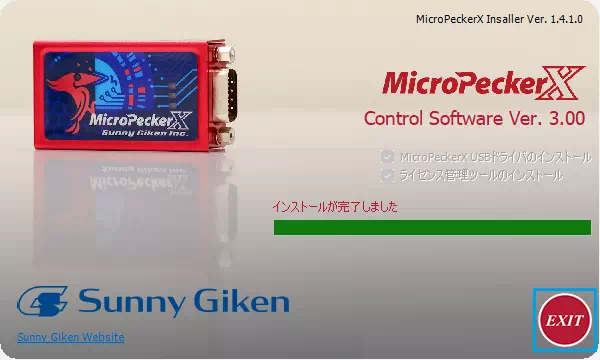
STEP 5: Exit Installer
- Click No on the following screen.
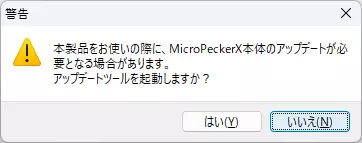
If you click Yes, the Update Tool starts.
See MicroPeckerX Update Tool.
- Click EXIT on the following screen.
The installer closes.