Add Plugin
This section explains how to add a downloaded plugin.
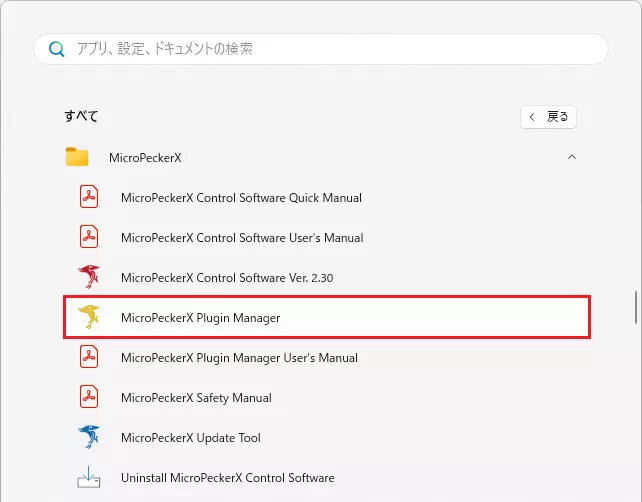
STEP 1: Start MicroPeckerX Plugin Manager
- Click the Start button on the Windows taskbar to open the Start menu, then launch MicroPeckerX Plugin Manager by either method below.
- Click All and select MicroPeckerX Plugin Manager from the app list.
- Enter MicroPeckerX Plugin Manager in the search box and click it from search results.
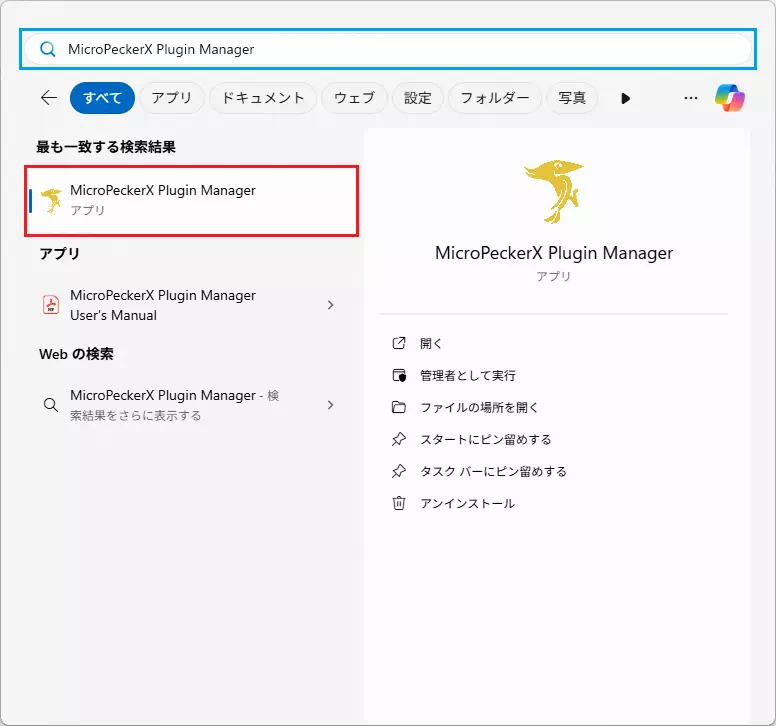
- Confirm that the MicroPeckerX Plugin Manager screen is displayed.
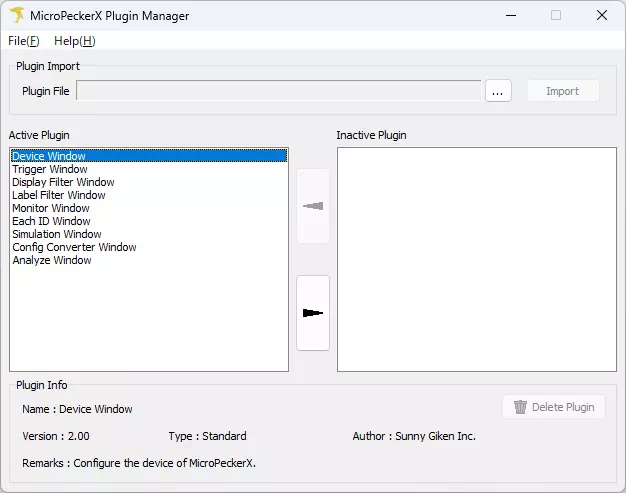
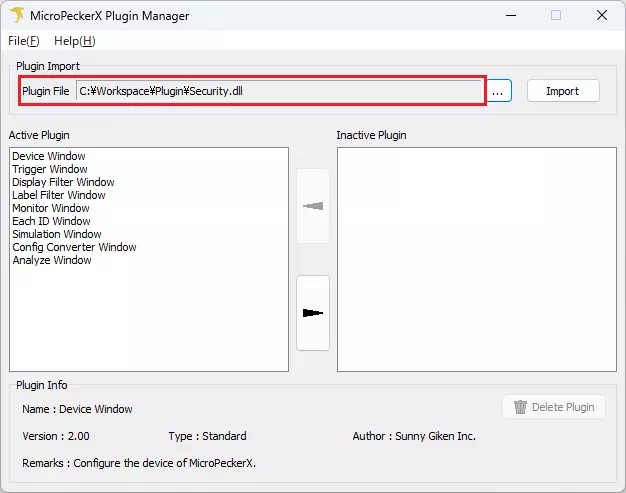
STEP 2: Add Plugin in MicroPeckerX Plugin Manager
- Do one of the following.
- Click Write License.
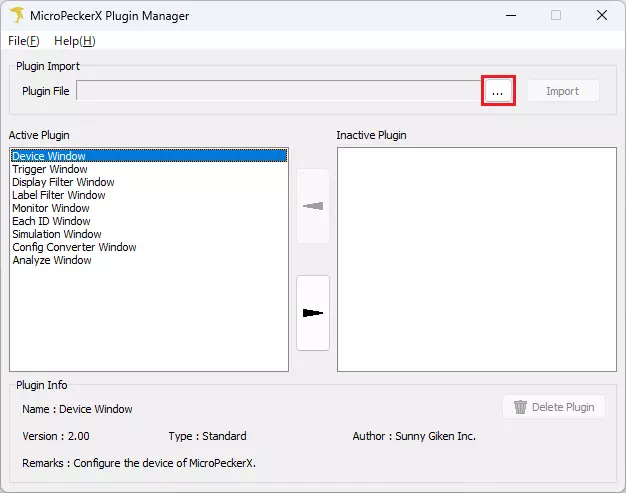
- Drag and drop the plugin file (
.dll) into the Plugin File area.
tip
If you drag and drop a .dll file into Plugin File, its full path is set and Import becomes clickable.
In this case, step 2 can be skipped.
- In the file dialog, select the plugin file to add.
The full path appears in Plugin File, and Import becomes clickable.
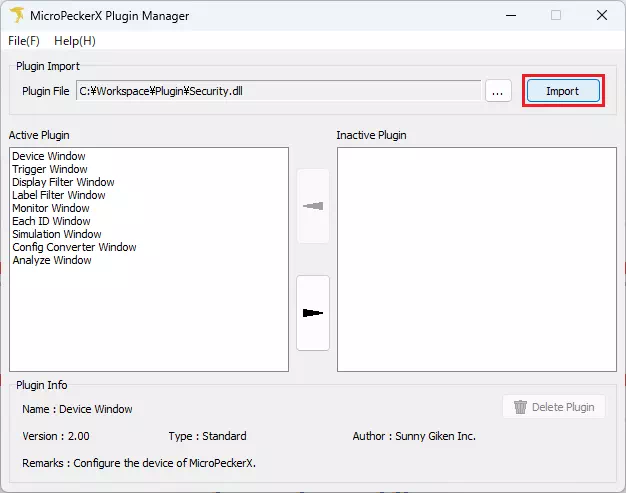
- Click Import.
The plugin selected in step 1 or 2 is added.
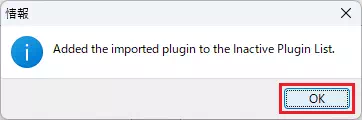
- When the following dialog appears, click OK to close it.
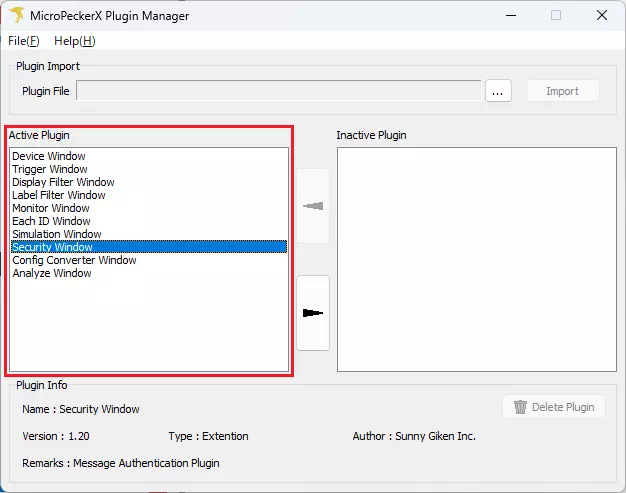
- Confirm that the added plugin appears in the Inactive Plugin list.
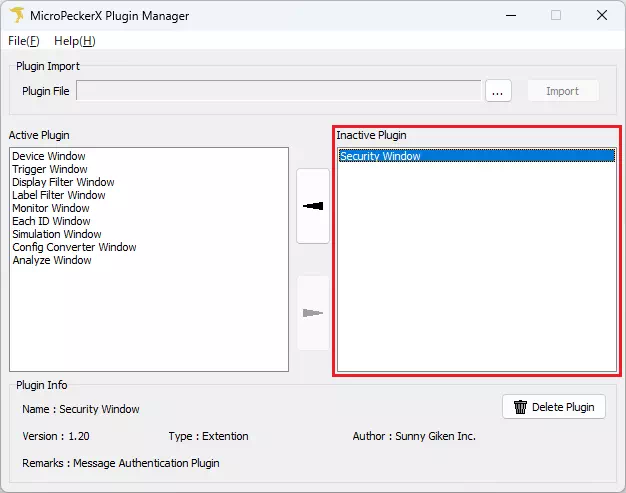
- If additional plugins are needed, repeat steps 1 through 5.
tip
Items in Inactive Plugin are disabled and their windows are not shown in MicroPeckerX Control Software.
To enable a plugin (display its window), proceed to STEP 3: Enable plugin.
STEP 3: Enable Plugin
- In Inactive Plugin, select the plugin you want to enable.
- Click the
 button.
The selected plugin is enabled.
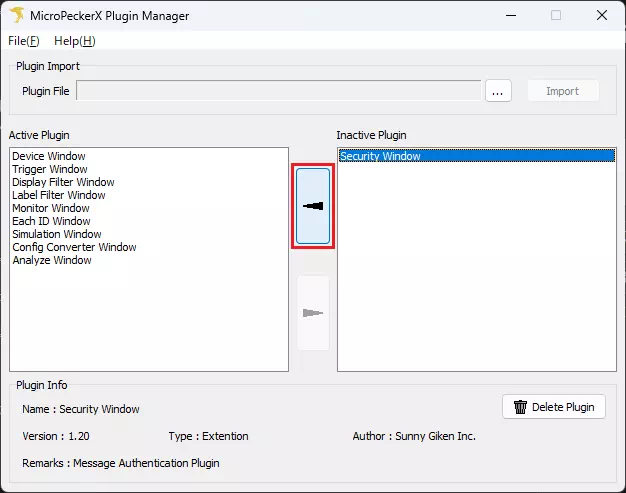
- Confirm that the selected plugin appears in the Active Plugin list.
- If you want to enable additional plugins, repeat steps 1 through 3.